The loop start is a simple, knot-free way to begin stitching when using an even number of strands. It creates a secure stitch with a clean front and back.
Share this Stitch
What You Need
Supplies
Difficulty Level: Easy
What You Do
Step 1: Cut your floss.
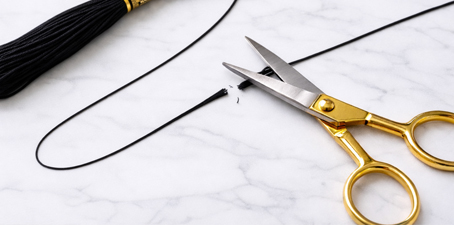
Cut one length of embroidery floss (about 18–24 inches).
Step 2: Separate one strand.
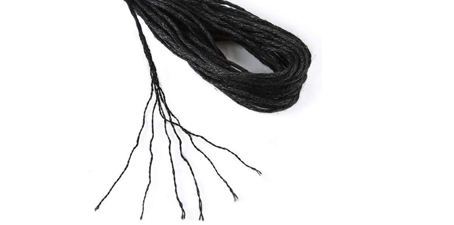
Pull one single strand from the floss (just one).
Step 3: Fold to create a loop.
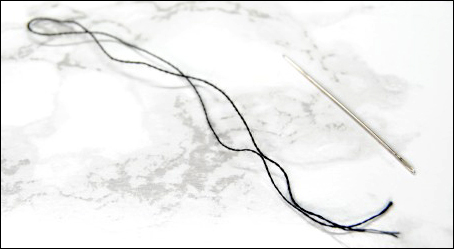
Fold that single strand in half so the two ends meet.
Step 4: Thread the needle with the looped end.
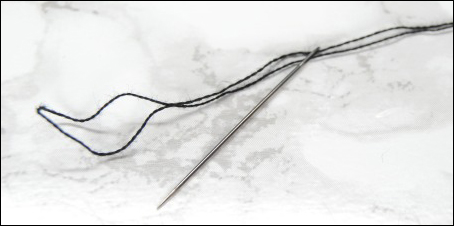
Insert the looped end through the needle eye. Pull it through a couple inches so the loop is easy to catch later.
Step 5: Even up the tails.
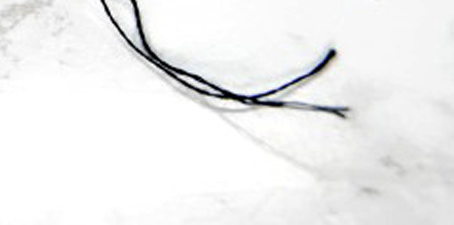
Adjust the floss so the two loose ends are even. Your needle should now have two strands running from it, with the loop on the opposite end
Step 6: Bring the needle up from the back.
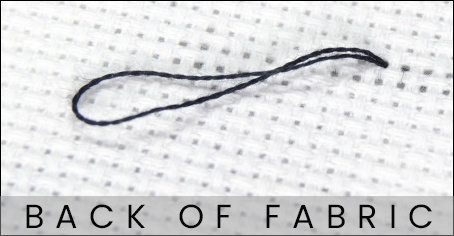
Bring your needle up through the first hole of your stitch, leaving the looped end of the floss on the back of the fabric.
Step 7: Begin the first diagonal stitch.
Insert the needle diagonally into the opposite hole to form the first half of the cross stitch.
Step 8: Catch the loop on the back.
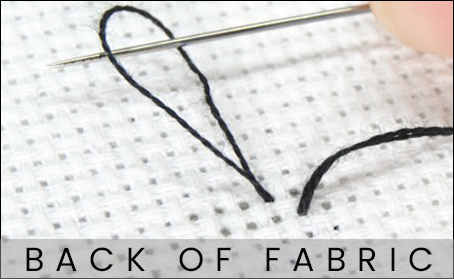
Before pulling the floss all the way through, flip your work over. Pass the needle through the looped end of the floss on the back of the fabric.
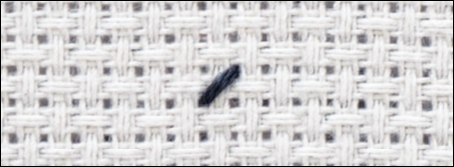
Step 9: Pull snug to secure.
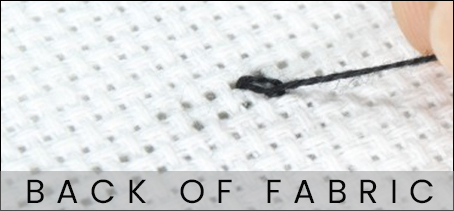
Gently pull the thread until the stitch lies flat on the front. The loop will tighten and lock the floss in place—no knot needed.